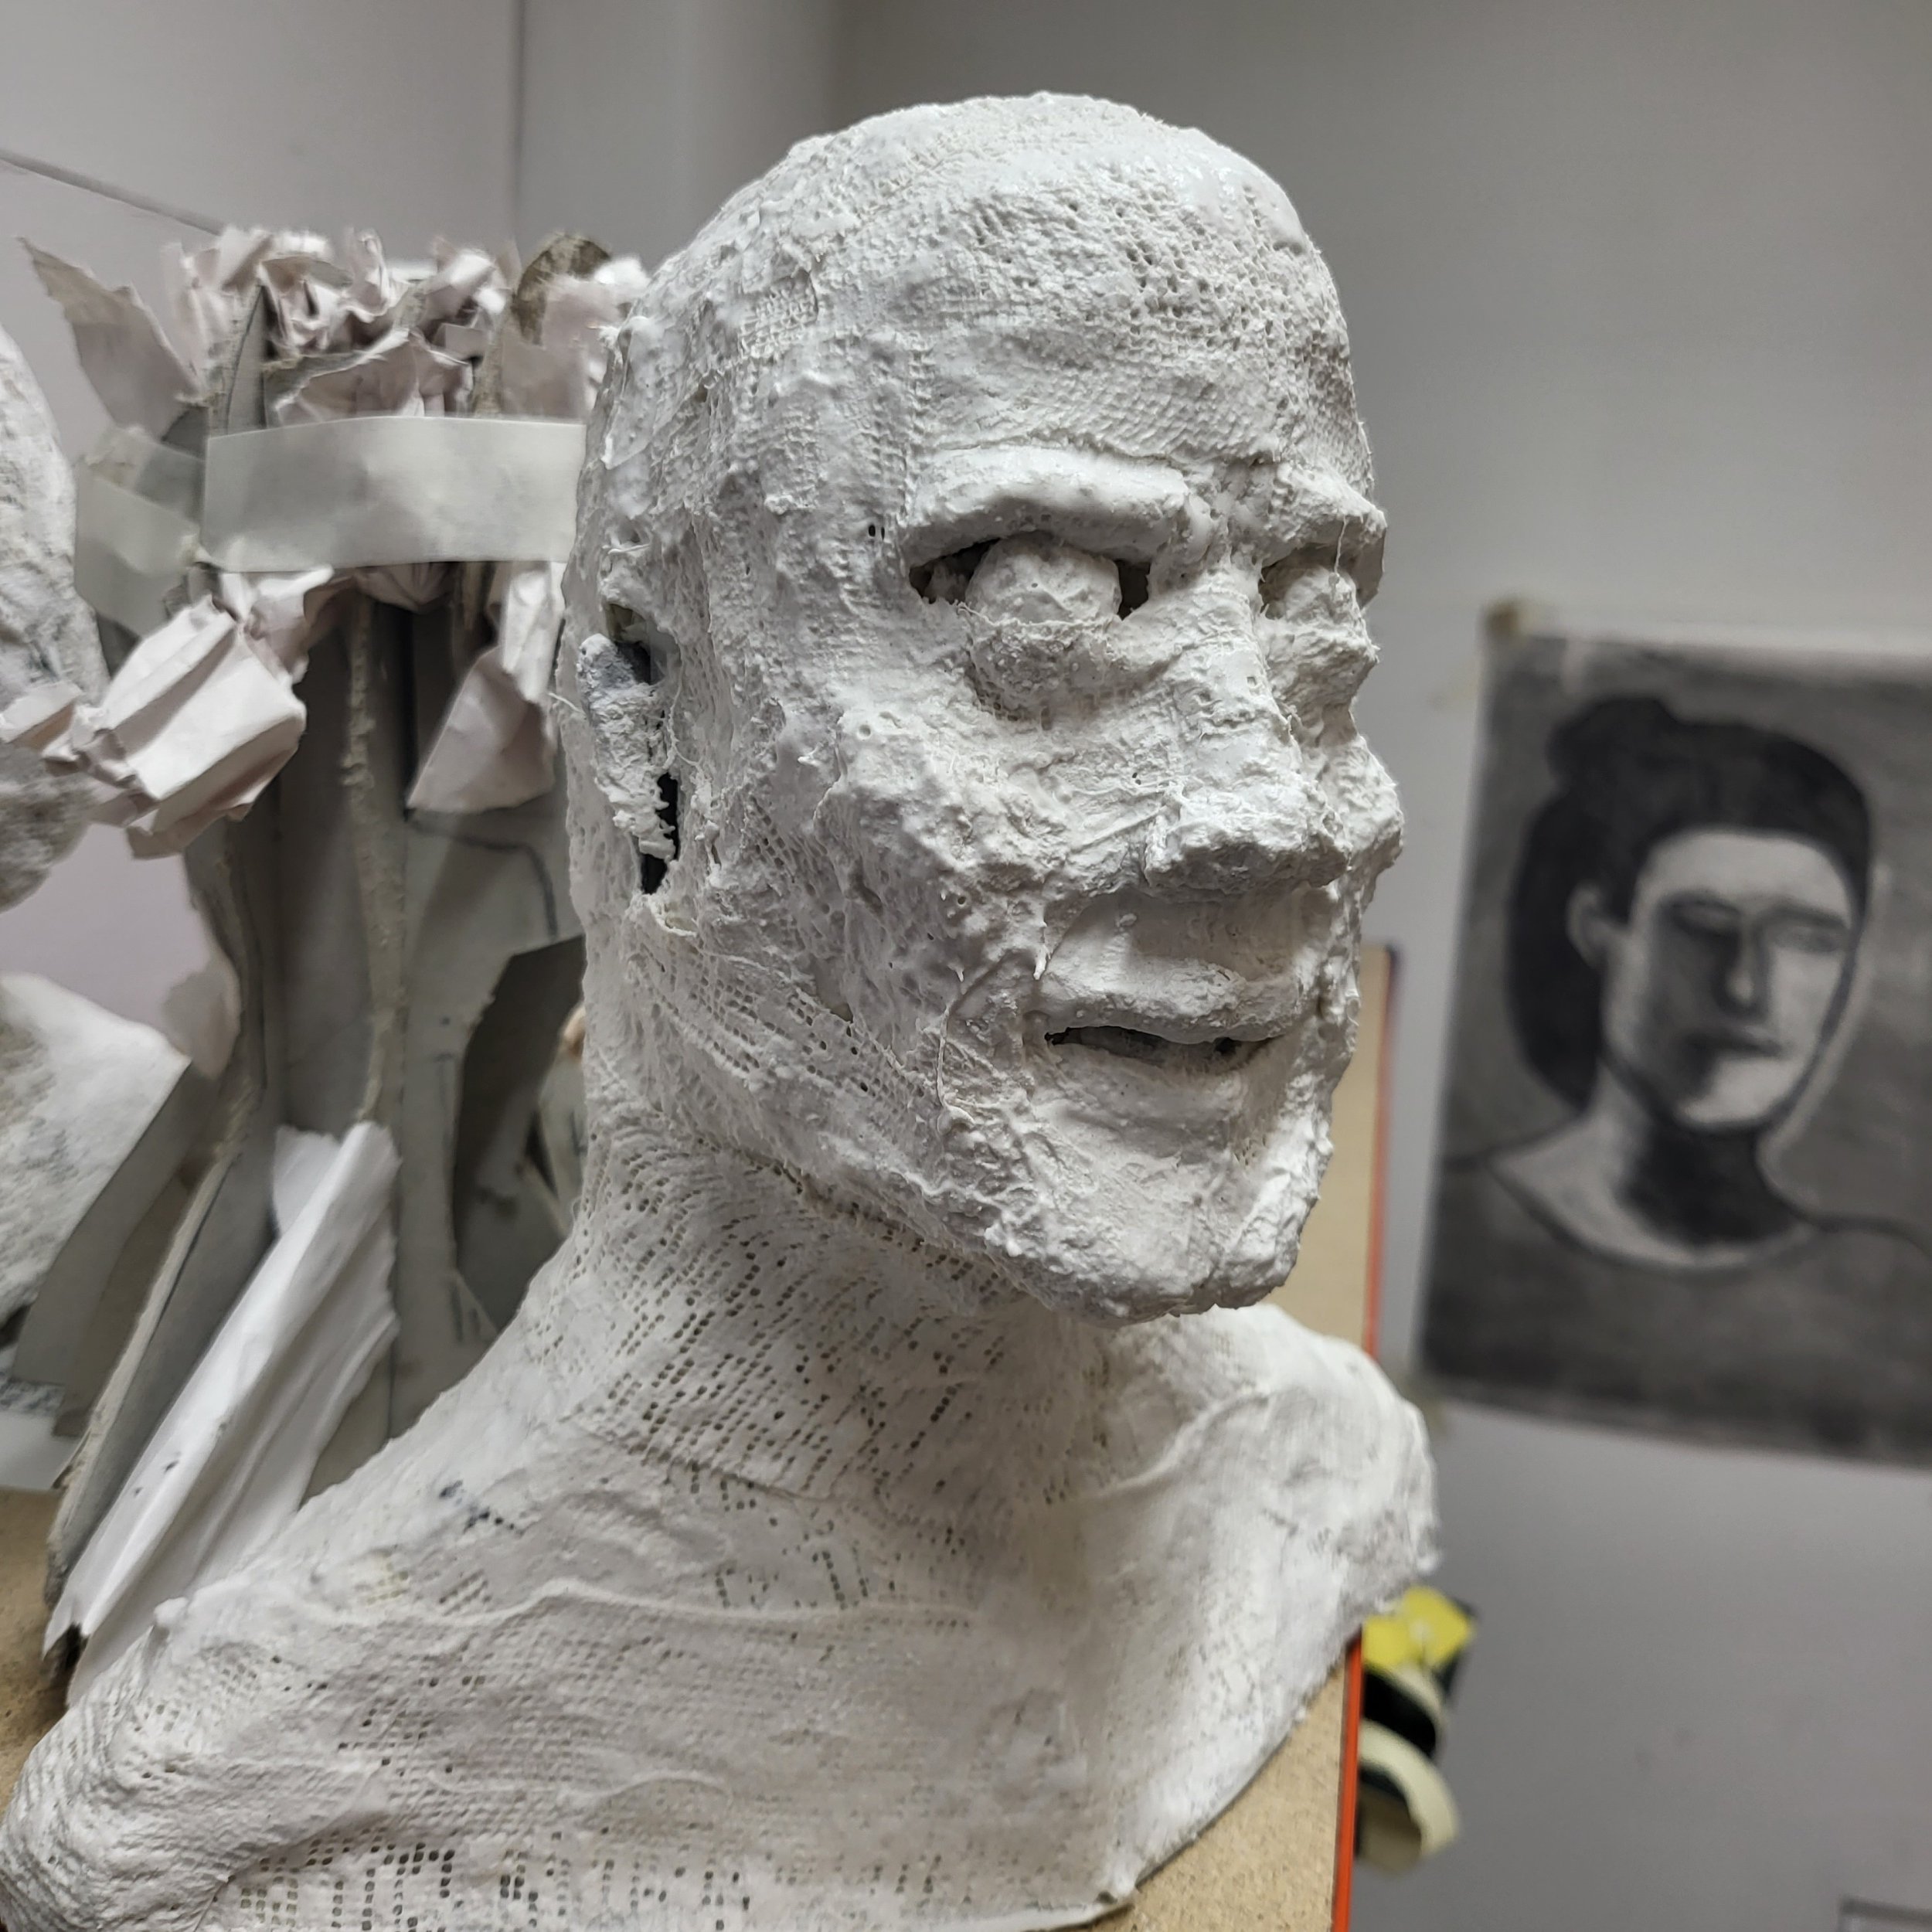
Building a cardboard armature for a bust is a great way to get started with sculpting. Not only is it a relatively inexpensive way to create a base for your sculpture, but it also allows you to easily experiment with different poses and designs. In this post I will walk you through the process of building a cardboard armature for a bust from scratch just like I have at college, using materials that are easy to find at any art or supply shop.
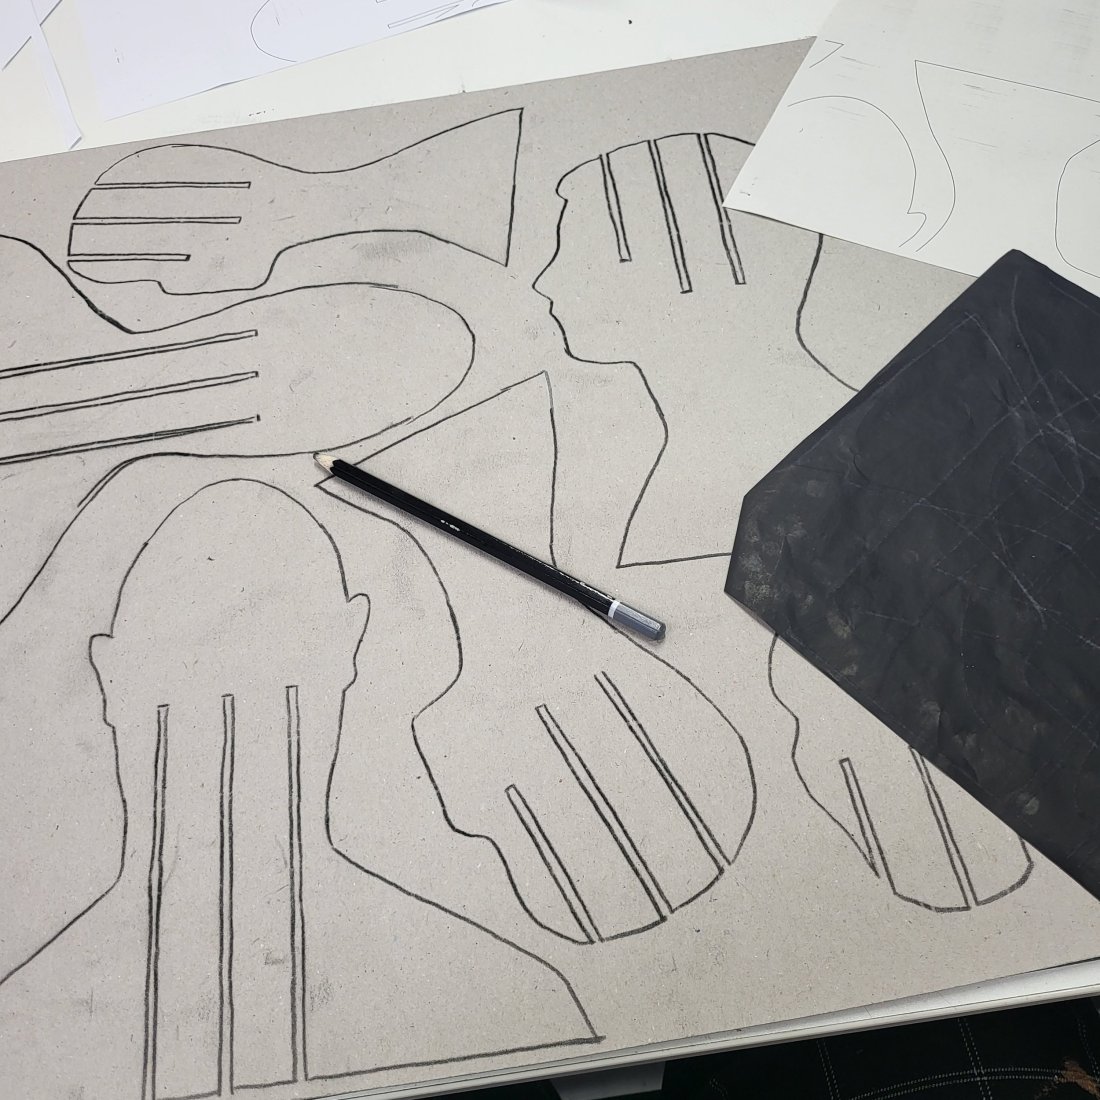
The first step in building a cardboard armature is to gather your materials. You will need a large piece of cardboard, a few pieces of newspaper, Elmer’s glue, and a pair of scissors. You can also use a utility knife or box cutter if you prefer, but scissors will work just fine.
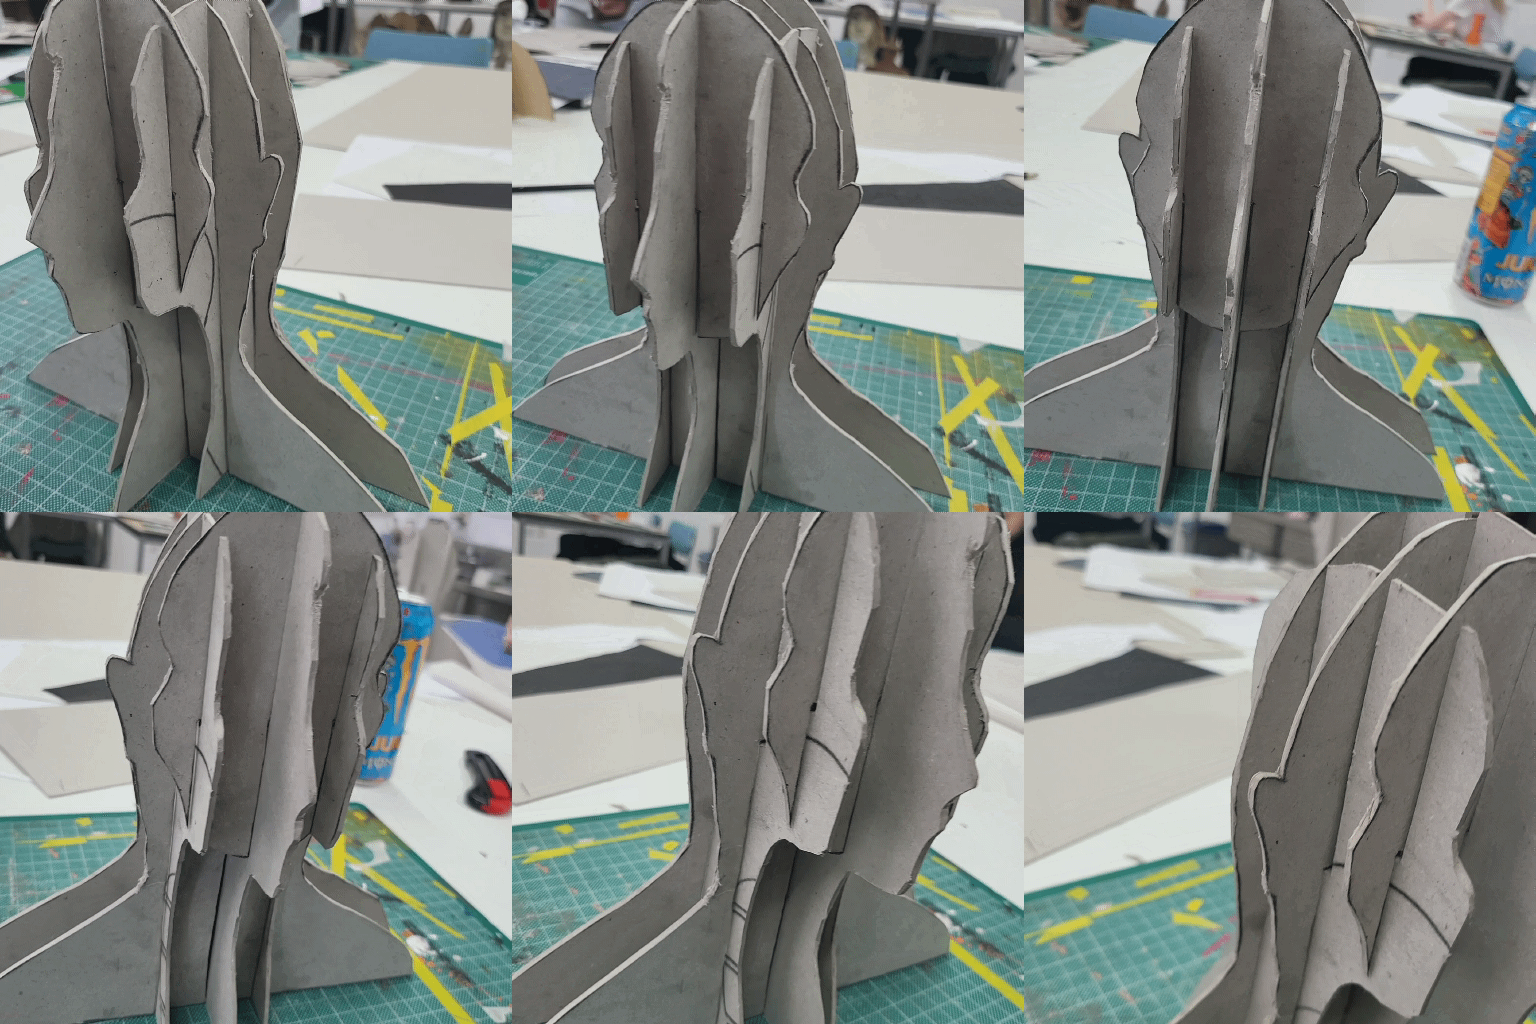
Next, use the scissors to cut out a basic shape for your armature or you can make a template like I have. This can be a simple rectangle or a more complex shape, depending on the design of your sculpture. You can even use pictures or drawings of the person you are sculpting as a guide. Once you have your basic shape, use the scissors to cut the template.
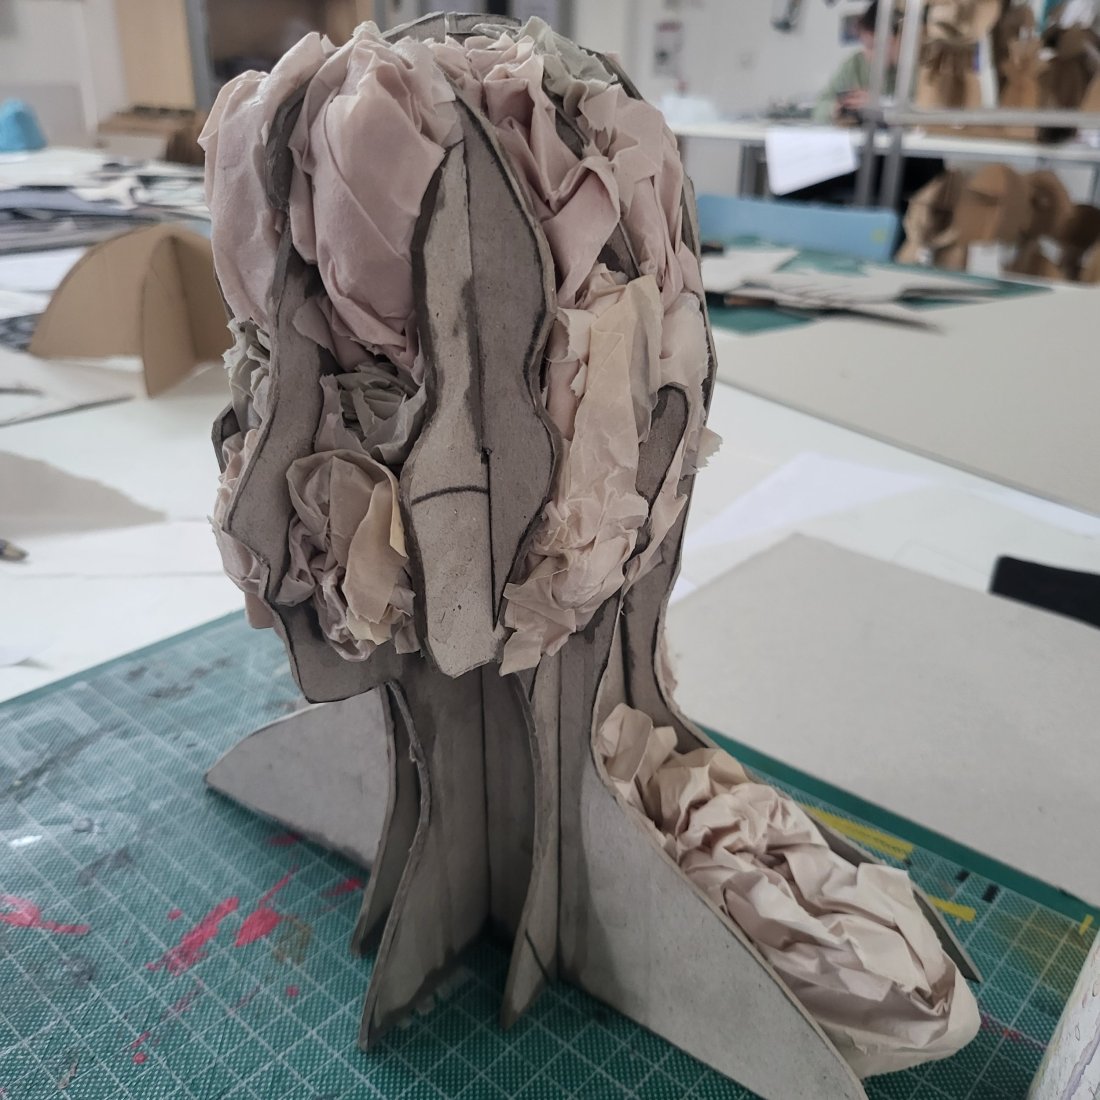
Next, take your newspaper and tear it into small pieces like I have. You can use your fingers to do this, or you can use a paper shredder if you have one available. Once you have a good amount of torn newspaper, start filling in the empty spaces of your armature. Use the Elmer’s glue to hold the newspaper in place or as I have dipped mine into watered down Elmer’s glue to help it be more maluable, making sure to press it firmly against the cardboard. You can use your fingers or a tool like a popsicle stick to smooth out the newspaper and make sure it adheres well to the cardboard.
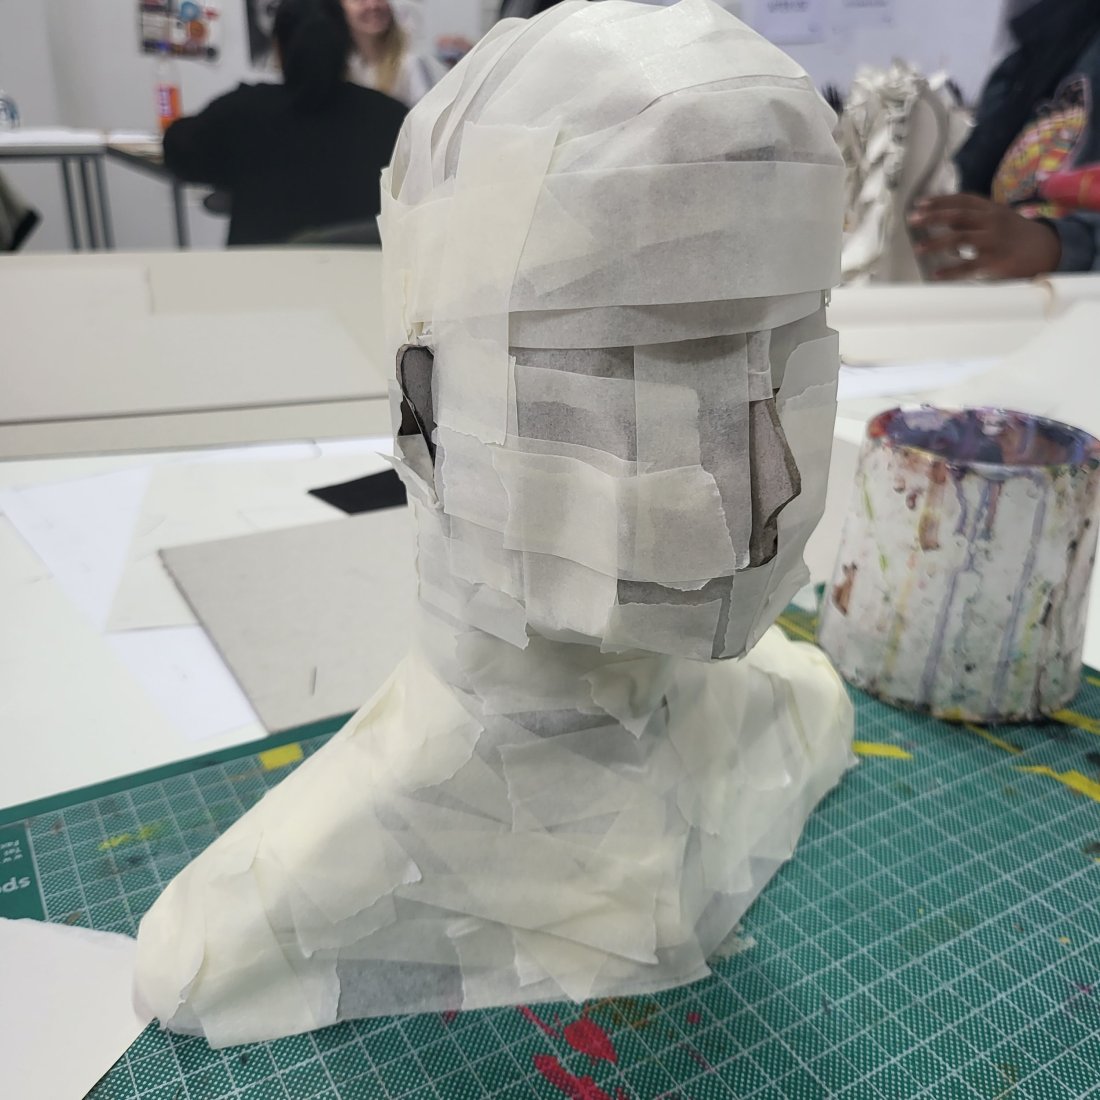
As you fill in the empty spaces, take care to shape the newspaper to the proportions you want. When you are satisfied with the shape, let the armature dry overnight or if you are enjoying the process like me then keep going and as you can see I then taped over my armature in masking tape to best see the different planes of the bust. Once dry, you can add better detailing.
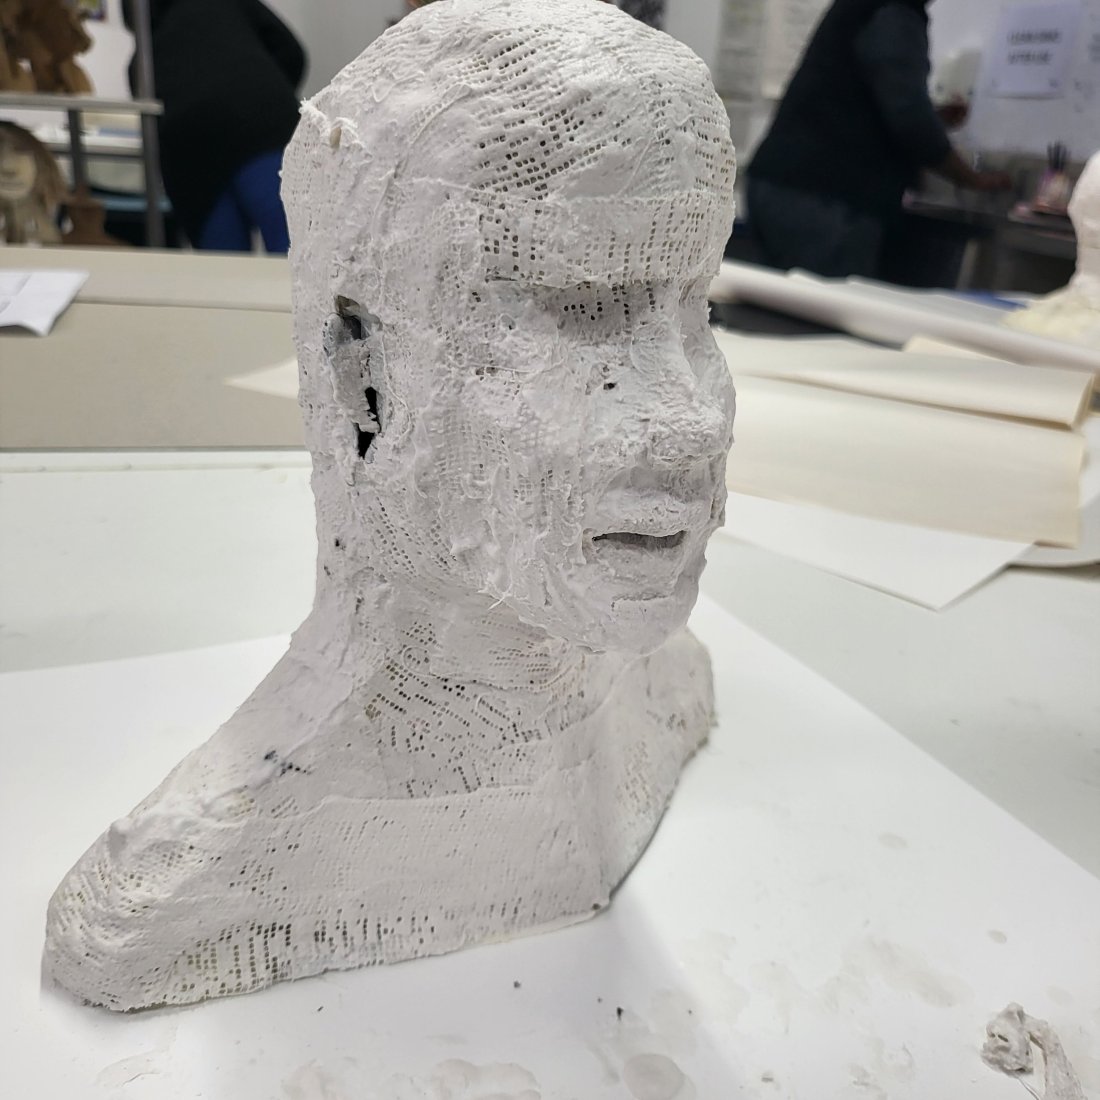
The fun part is to begin to add clay, plaster or as I will mod rock to bulk the empty space. This is where you can let your creativity run wild and sculpt the bust to your desired shape.
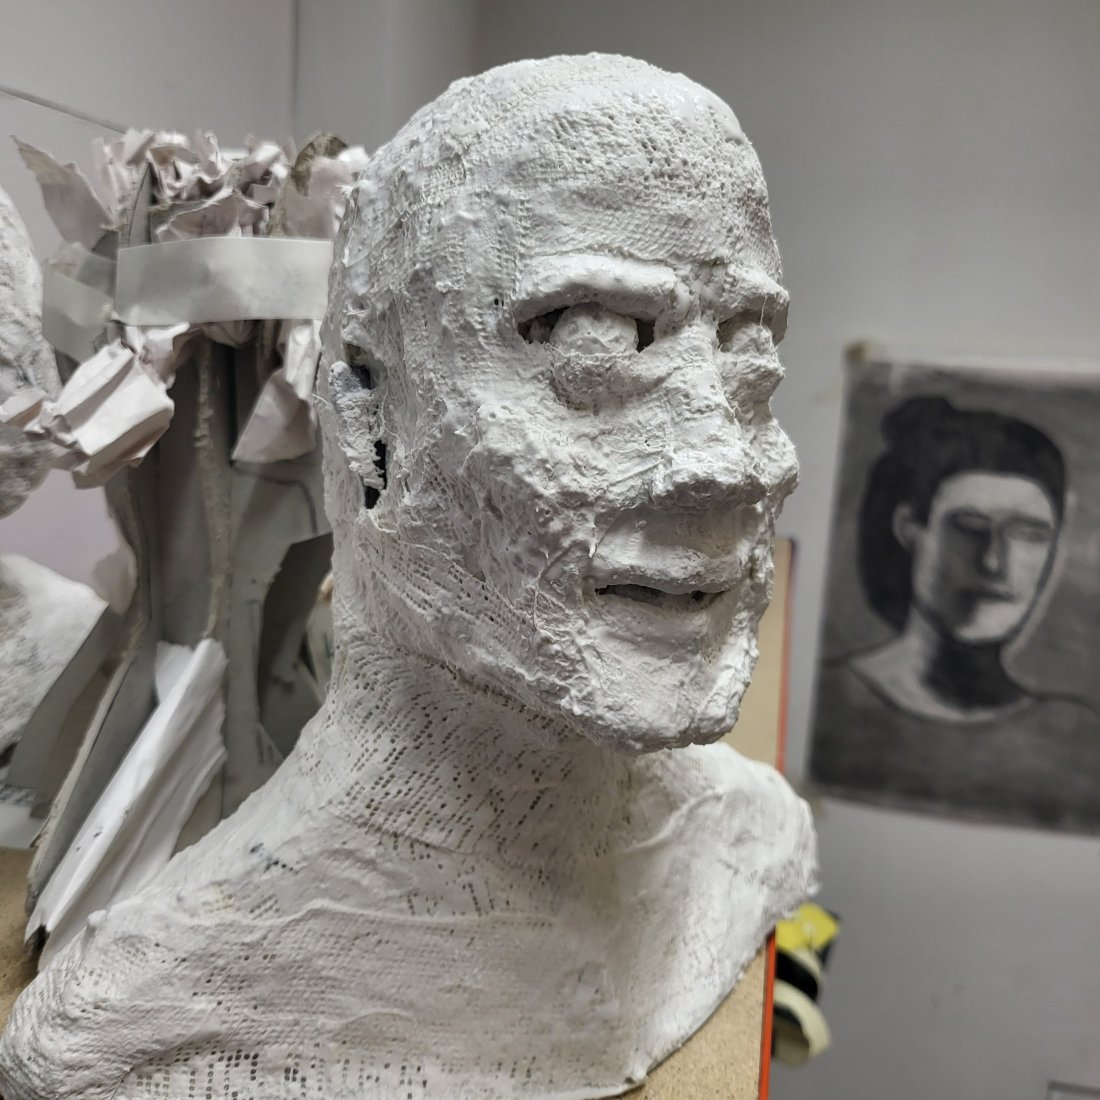
Happy modeling and hope you enjoy my basic take on bust making.


